9 January 2015

Where have I been? What am I doing? And Where am I going? (Still needs to be completed)

Hey guys.

I haven't updated my blog due to personal reasons and finally I have time to update you on what I have been doing.

A lot has changed since last January, in short I have moved university course, made a hand sewn toga, stage managed another BA Hon Historical and Performance Costume for Stage and Screen 3rd year degree show and much much more.


Moving Course
About two months after my last post I found out a close friend of mine had applied to a tech course in Hull, after hearing all about it the stress of the last 6 months I thought this was my chance to contact the lecturer in Hull to see if I could move. I felt studying costume was not the right course to steer my career in the direction I wanted and I needed to get more experience in other aspects of the theatre industry. I went for an interview a couple of weeks later and felt this was the place for me. I stayed on at the course in Scarborough mostly for experience and to prove to myself I could complete the year.

Projects Completed in 2nd Year of BA Hon Historical and Performance Costume for Stage and Screen
If you click on the links below you will be taken to my Inspiration Boards on Pinterest.

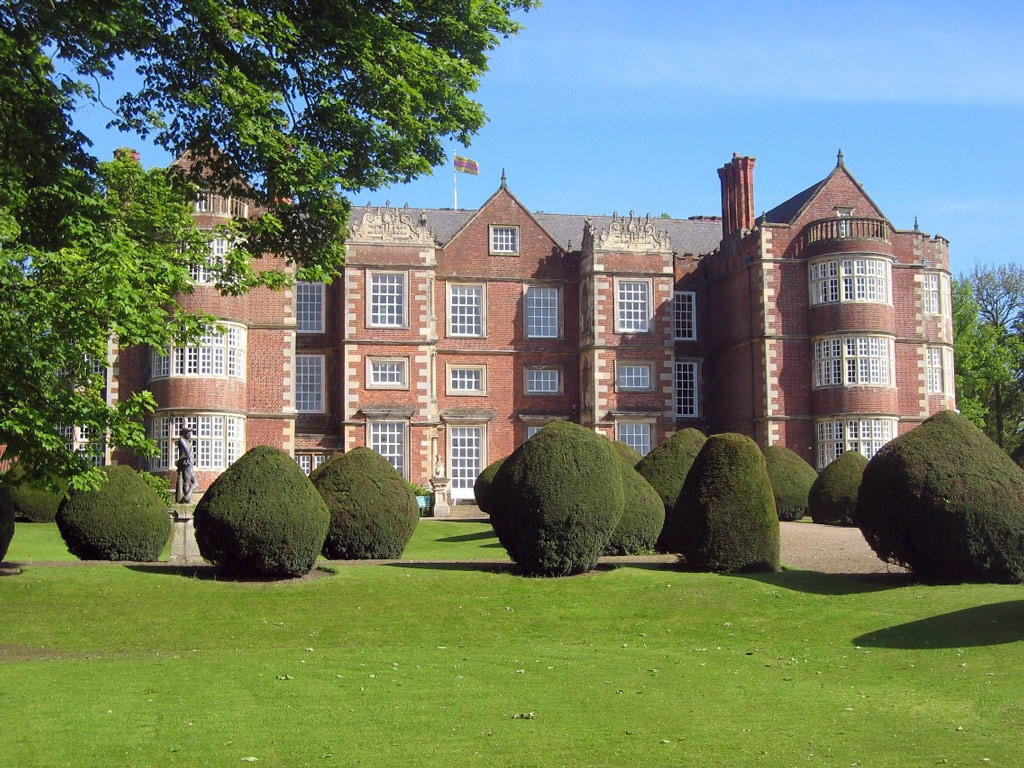
Sitwell - 
One of the projects I worked on while still at Scarborough were completing the Edith Sitwell garment. Through this project I learnt a lot about Renishaw Hall and I had the chance to visit Weston Hall, in Towcester and have lunch with William Sitwell, writer of 'A History of Food in 100 Recipes'. 

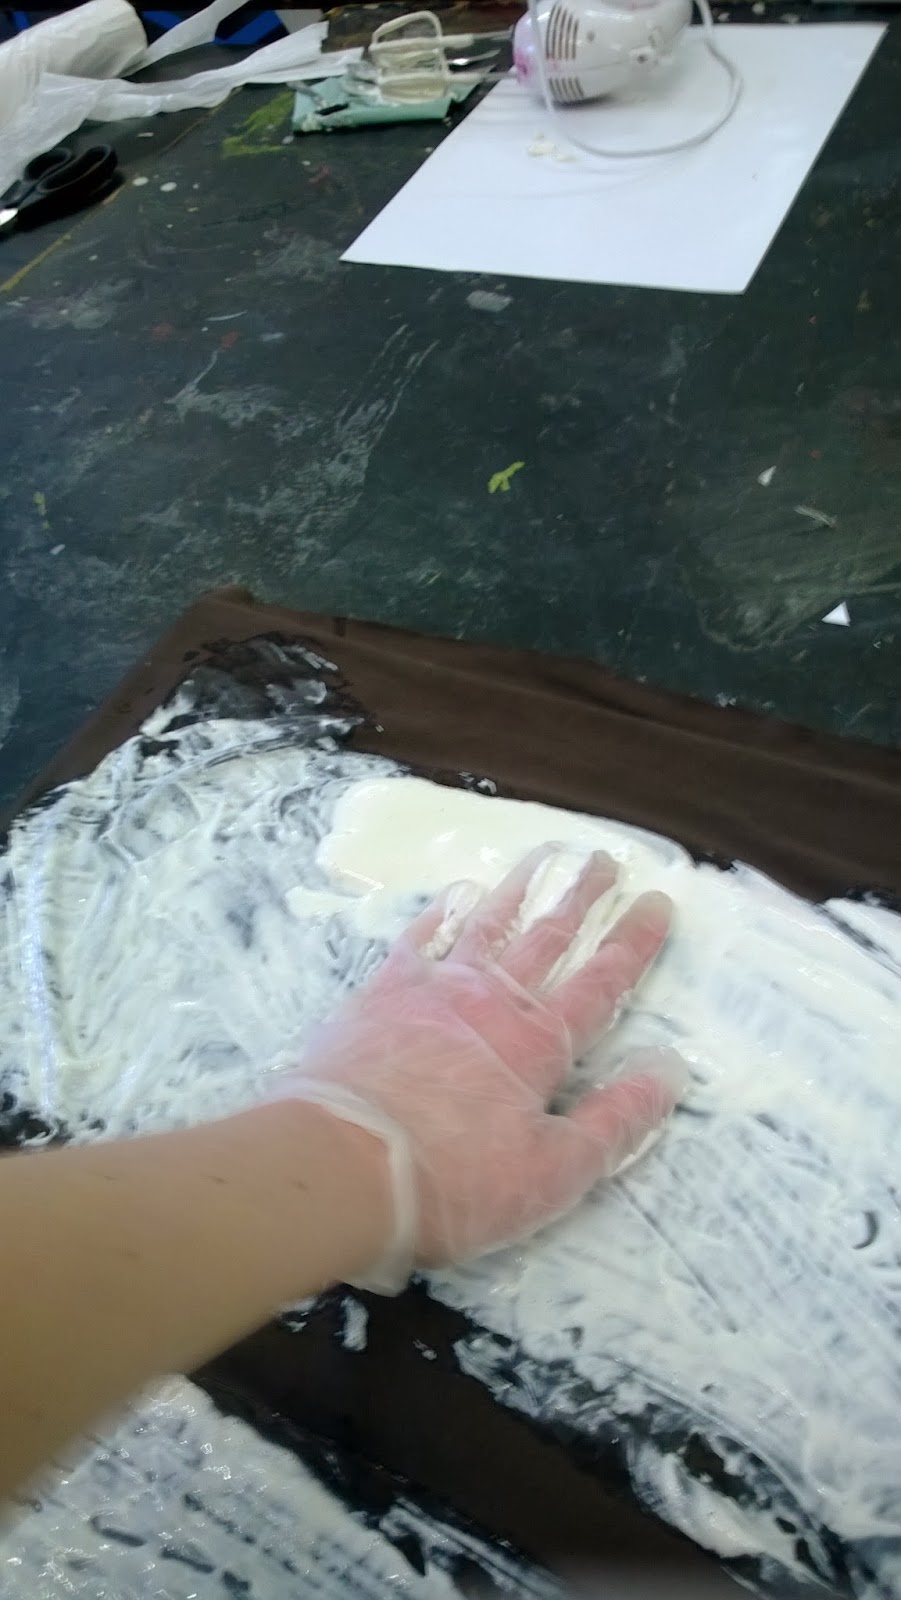
Toga - 
Another project I worked on was making a full sized Roman toga and a tunica, all hand sewn and the toga was made from 16 metres of linen and took 4 hours to iron!

Cruel Frederick
Design projects on the course included designing and creating a set/costume for a photoshoot of my interpretation Heinrich Hoffmann's Cruel Frederick.

Macbeth - 
 The last project was designing 12 costumes for a 
scene in Macbeth. I had to choose 3 characters and 3 themes and create 3 of each.

Stage Managing 3rd Year Degree Show


My 21st Birthday Party
For my 21st and my Mum's 50th birthday party we wanted a Circus themed event. At the party I wanted a photo wall and a booth. For the wall me and my Mum draw and painted the design and cut out holes for the faces. The booth, I bought a selection of different props and set up a camera on each so guests could take their own pictures with the camera having a 10 sec timer on it.


My CV Update

This last summer I spent some of my time improving my Photoshop skills by completing different tutorials on the web and with this new experience I created my CV. I am hoping at some point to bring my blog layout and design to this new cleaner style.

Acorn Theatre
Also during the summer I spent Tuesday and Thursday evenings at the Acorn helping with general maintenance, a dance show where I was on the sat in the box helping with lighting and I also was an ASM for a couple more shows.

Projects in the First Term of BA Technical Theatre and Production

Riverside Arts Festival -

10 Tiny Fingers, 9 Tiny Toes Set/Costume


Majestic Theatre


Next Term

30 January 2014

Changes

AFTER HAND IN


So after seeing the costume on someone and I'm not happy with it. It wasn't ready. The zip broke just before so I am going to replace that with a big thick zip.

Changes to be made.


  1. Put a zip in the hood. (It was difficult to get on and could be fitted better.)
  2. Put a new zip in the back. 
  3. Make the neck join the other half by adding a few pieces. (I could leave it separate but I reckon it will look better.  
  4. Cover seams with latex thickener and let that dry.
  5. Add more latex, pigment and thickener on top to costume.
  6. Cover zips in latex mixture to be hidden and put cling film in between to protect. 
  7. Find a way of making sure it doesn't show?
  • Placing tiny plastic poppers in side latex while half dry
  • Sew tiny poppers in
  • Keep latex clean and it may stick on its on.
  • Not covering zips at all and using another type of fastening but it needs to be consistent and strong.
I was talking to a friends grandson yesterday, he thought it was a brilliant idea, with the environmental awareness part and wants to see it complete. He has encouraged me to get on with it and make it look awesome.

I was looking on Facebook and found this. The costume needs to be built up and have more texture. I am going to try adding tissue to latex. I don't want such big crevices but the effects round the side of the 'wound' look good.


27 January 2014

Fittings

The first fitting was with just the Lycra under suit. A couple of alterations, making the hood cover the fore-head pulling in under the arms and shortening on the legs.


The second fitting was yesterday for the full suit. I had a couple of changes, the biggest one not being happy with the texture. I couldn't properly tell as it was still covered in cling film but didn't look too good.
The shoulders need patching, the waist needed pulling in and it needed shortening on the legs. The legs also needed pulling in but she couldn't walk upstairs so had to be loosened. I wanted some restriction though to make it more realistic. The hood was cut to size and shaped to the head. There was a big gap under the chin, showing the suit underneath so I have added a piece to the hood to fix this. I also added thermal socks for the actors feet to stay warm.

18 January 2014

Thinking about Make-Up

I have a friend that is training as a theatrical make-up artist and she works a lot with prosthetic make-up. So I thought it was an idea to ask her for some advice. 


I had a Google and found this.

Pre-mixed black latex.

and this.

Unmixed Pigment.

I had a think and decided that having pigment would be a better plan, as I have a load of latex and I could determine the colour better. As a pigment I used for the fabric was really dark green I also bought this green pigment to mix into the black and create a similar tone.


After thinking about it I decided that this will take too long to dry on my models face so changed it to 

Making of the Costume

Flat draft a Lycra Suit pattern and cut out in paper.  


Lay out on the Lycra making sure the biggest stretch goes down.


Pin the pattern down.


Chalk all the way around. 


Cut out.


Stitch the front together.


 Stitch the legs and front.


Then the shoulders.


Draw out a hood pattern.


Cut it out in calico.


Fit on someone's head by pinning into shape.


Draw shape with a pencil and cut out a new shape.


Cut out in paper and then in Lycra.


Acid dye 2 metres of white Lycra.


Mix up 1 part thickener into 10 part latex. 


Mix with a electric mixer until it peaks but isn't too thick.


Pour onto dyed Lycra.


Spread all over the fabric.


Add texture by moving the latex about.


Add some more texture by thickening part of the latex.


As this didn't work I had to do something, It had worked in experimenting but it didn't work on the real thing, I have found something that is better for it. I experimented with pigment and found that it worked if I did it really dark.
Pour the mixed pigment into the latex with a little less pigment going in.


Stir in and add more latex if it looks like more could be added without effecting the colour too much.


Pour onto fabric and spread around covering the whole pre-latexed surface.


Before it dried.


 After it has dried.

I wanted the pigment to be brown but I had mixed it wrong and didn't want to waste it, this hasn't effected the final fabric and looks really like oil. I am thinking of making a similar colour, adding thickener and latex and seeing if it would drip down the suit in big gloops.  
Buy some black heavy duty rubber gloves.

These were medium size so I had to resize them.


Put on inside out and pin into position.

This is my hand and my mum pinned it, as my hand was a bit bigger than my models but the latex would shrink them.


Sew along the pin lines.


Cut notches and excess down.


Mix up some more latex and dip the gloves into the latex.

I didn't have any pigment where I thought ink would have the same shiny effect.


Let them dry.

I wanted the fingers to stick together slightly so the it looked more realistic and restrict the actors movement similar to the animals that would have been covered in a real oil slick.


Buy some shoes similar to the ones below and cold water dye them a darker brown, as long as they are cotton.


Spread all over the shoes.


I wasn't 100% happy with the costume after the fitting. So I made some alterations by adding more latex.


Add socks to the stand put the costume on a stand and use cling film to cover where the shoes go. 


Mix up latex pigment and latex, after a few layers add thickener to the mixture.


Pour over the whole costume to create a drippy effect.


This is where I added more gloop so the suit looked more realistic and was more textural.


The mask was the next section of the costume. 

To create this mask base I scrunched up some paper until it is pliable and then asked the model to shape the paper and I passed her masking tape. This is because she knew how much pressure to use and I didn't want to poke her in the eye. This is a much easier way than than mod-rock as it is not as messy or as uncomfortable for the model. This can be removed from their face quickly and straight after completion. Down sides are that the mask doesn't have as much detail and isn't as strong. I then used some scrunched up newspaper to pack the mask out and put it on a board. 

Pin the mask down and cover with cling film.


I wanted to create an effect that looked like oil was dripping of the face and didn't really resemble the features. 

Hold the mask over the bowl full of latex and pour it over mask, using a scoop, letting the excess drip into the bowl.


Drip more of the latex solution over the hood and shoes.


Cut eye holes and make sure the head cap fits.