
Flat draft a Lycra Suit pattern and cut out in paper.

Lay out on the Lycra making sure the biggest stretch goes down.

Pin the pattern down.


Chalk all the way around.

Cut out.


Stitch the front together.

Stitch the legs and front.


Then the shoulders.

Draw out a hood pattern.

Cut it out in calico.

Fit on someone's head by pinning into shape.

Draw shape with a pencil and cut out a new shape.

Cut out in paper and then in Lycra.

Acid dye 2 metres of white Lycra.

Mix up 1 part thickener into 10 part latex.

Mix with a electric mixer until it peaks but isn't too thick.

Pour onto dyed Lycra.

Spread all over the fabric.

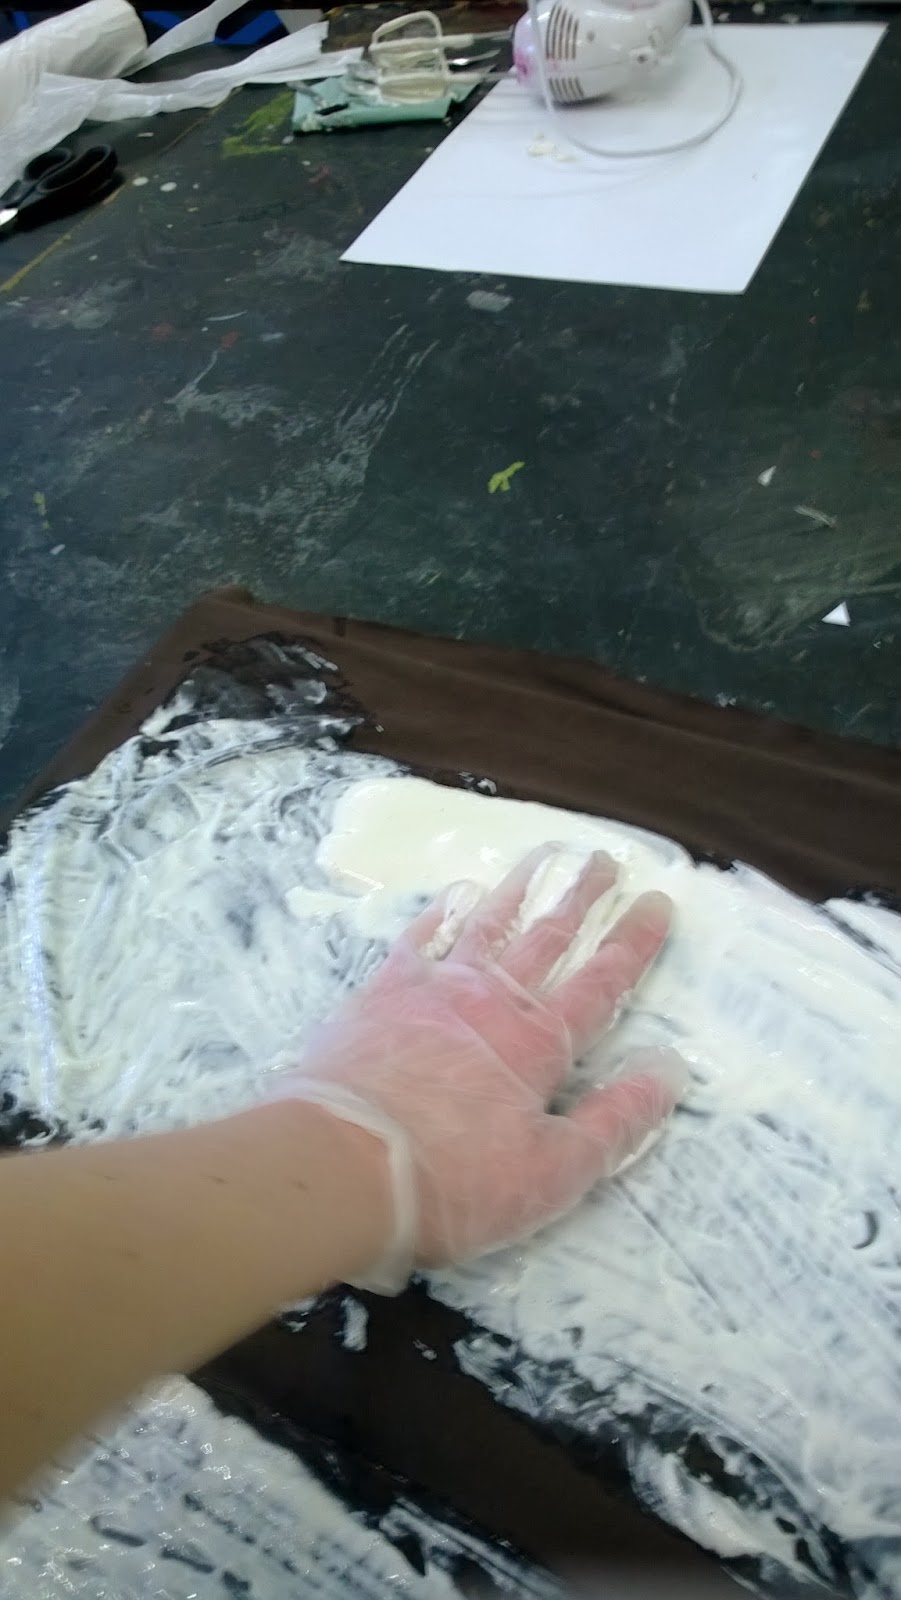
Add texture by moving the latex about.

Add some more texture by thickening part of the latex.


As this didn't work I had to do something, It had worked in experimenting but it didn't work on the real thing, I have found something that is better for it. I experimented with pigment and found that it worked if I did it really dark.
Pour the mixed pigment into the latex with a little less pigment going in.

Stir in and add more latex if it looks like more could be added without effecting the colour too much.

Pour onto fabric and spread around covering the whole pre-latexed surface.

Before it dried.


I wanted the pigment to be brown but I had mixed it wrong and didn't want to waste it, this hasn't effected the final fabric and looks really like oil. I am thinking of making a similar colour, adding thickener and latex and seeing if it would drip down the suit in big gloops.Buy some black heavy duty rubber gloves.
These were medium size so I had to resize them.

Put on inside out and pin into position.
This is my hand and my mum pinned it, as my hand was a bit bigger than my models but the latex would shrink them.

Sew along the pin lines.

Cut notches and excess down.


Mix up some more latex and dip the gloves into the latex.
I didn't have any pigment where I thought ink would have the same shiny effect.

Let them dry.

I wanted the fingers to stick together slightly so the it looked more realistic and restrict the actors movement similar to the animals that would have been covered in a real oil slick.

Spread all over the shoes.


I wasn't 100% happy with the costume after the fitting. So I made some alterations by adding more latex.
Add socks to the stand put the costume on a stand and use cling film to cover where the shoes go.

Mix up latex pigment and latex, after a few layers add thickener to the mixture.

Pour over the whole costume to create a drippy effect.


This is where I added more gloop so the suit looked more realistic and was more textural.

The mask was the next section of the costume.
To create this mask base I scrunched up some paper until it is pliable and then asked the model to shape the paper and I passed her masking tape. This is because she knew how much pressure to use and I didn't want to poke her in the eye. This is a much easier way than than mod-rock as it is not as messy or as uncomfortable for the model. This can be removed from their face quickly and straight after completion. Down sides are that the mask doesn't have as much detail and isn't as strong. I then used some scrunched up newspaper to pack the mask out and put it on a board.
Pin the mask down and cover with cling film.

I wanted to create an effect that looked like oil was dripping of the face and didn't really resemble the features.
Hold the mask over the bowl full of latex and pour it over mask, using a scoop, letting the excess drip into the bowl.

Drip more of the latex solution over the hood and shoes.


Cut eye holes and make sure the head cap fits.
No comments:
Post a Comment